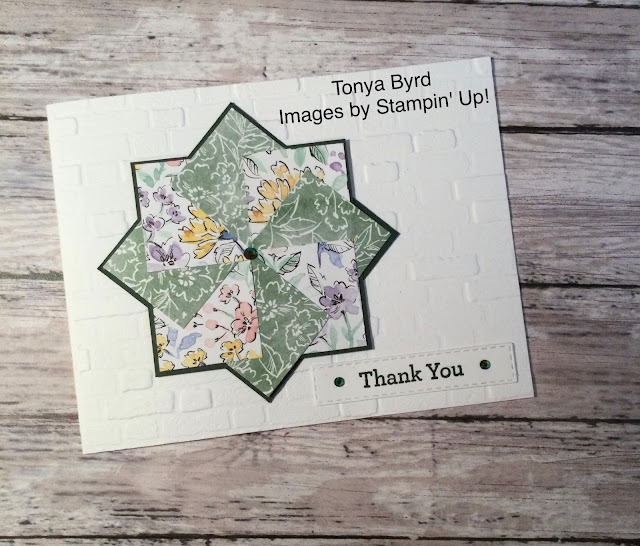
I was invited to attend a demonstrator meeting this weekend and lady named Jane shared this card. It looks complicated, but it really isn’t! And once you start, you cant stop! They are so fun to make!
Begin with any of Stampin' Up's beautiful DSP. Choose two patterns that coordinate and have a small print. Cut four each of the two patterns at 1”1/4 inch square.
Cut two pieces of card stock two 2”5/8 for the background that you mount the smaller pieces on. Overlap the two larger squares like shown in the photo. Be sure to get these centered as it will effect how your smaller squares look.
Then simply move around the card mounting the smaller squares one corner at a time, being sure to glue the first one only at the top so you can slide the last piece under it.
You can create texture by using an embossing folder on the card front.
Embellish as desired.
Click here to access my online store where you can see a complete list of supplies I used and other card samples.


Comments
Post a Comment